Shoot Your Movie
Animation Guides
Animation guides are powerful tools that can streamline and enhance your animation planning process. Here’s how you can leverage them effectively:
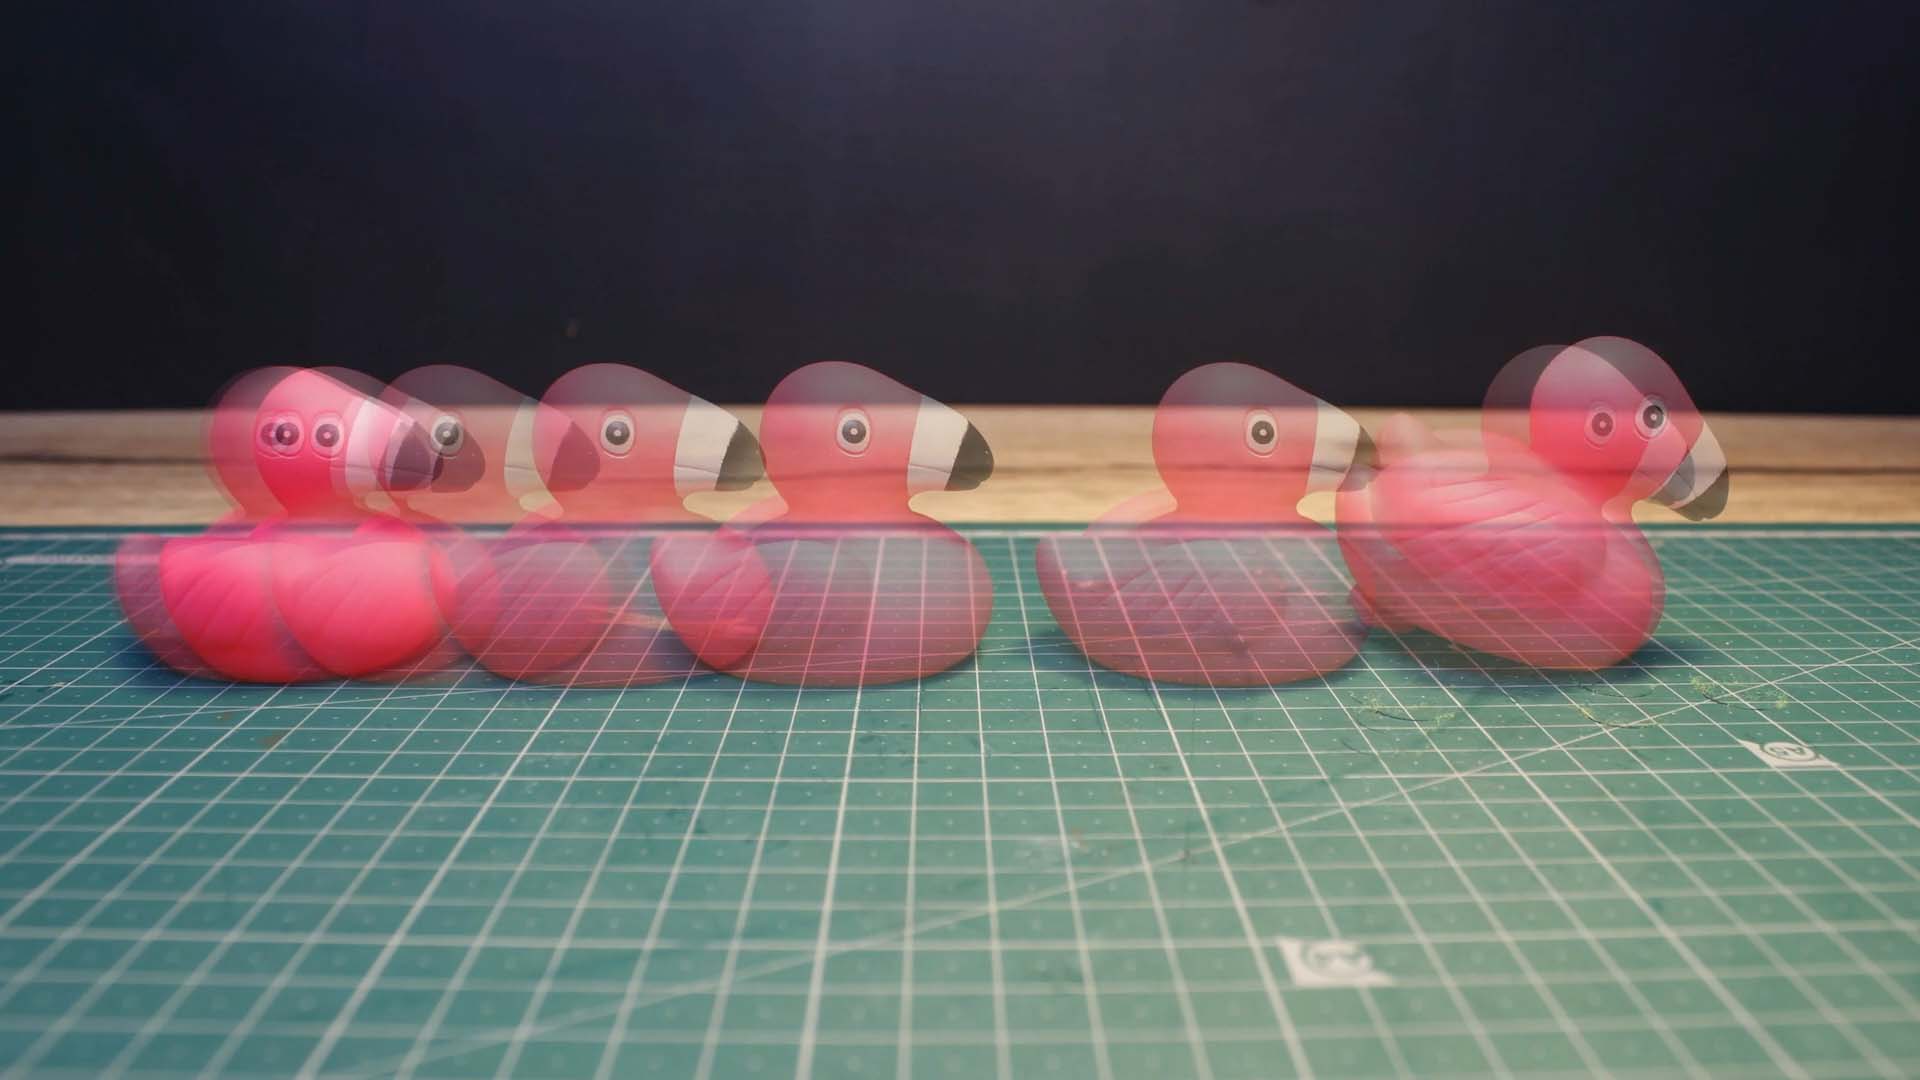
Utilize Animation Path Tool
- Define Trajectory: Use the animation path tool to define a trajectory for animating an object. You can modify the path layout using the blue handles.
- Adjust Timing: Each intersection on the path represents the object’s position when capturing the next frame. Adjust the timing by modifying the number of increments or frames for movement. Customize timing based on the animation requirements.
- Preview Animation: Click the play button to preview the animation.
Drawing Tools for Markers
- Create Markers: Utilize drawing tools to create markers indicating object positions within your scene setup.
Grid Overlay
- Align Camera View: The grid overlay assists in aligning the camera view with your scene. Adjust the grid settings to change the number of rows and columns, color, and opacity.
Additional Layers
- Safe Area Layer: Overlay a TV safe area to ensure essential parts of the scene are in view.
- Image Layer: Import an image as a reference for your animation.
- Video Clip Layer: Import a video clip as a reference to assist in character animation.
- Level Layer: Indicates whether the device is horizontally and vertically leveled.
- Information Layer: Displays live camera information.
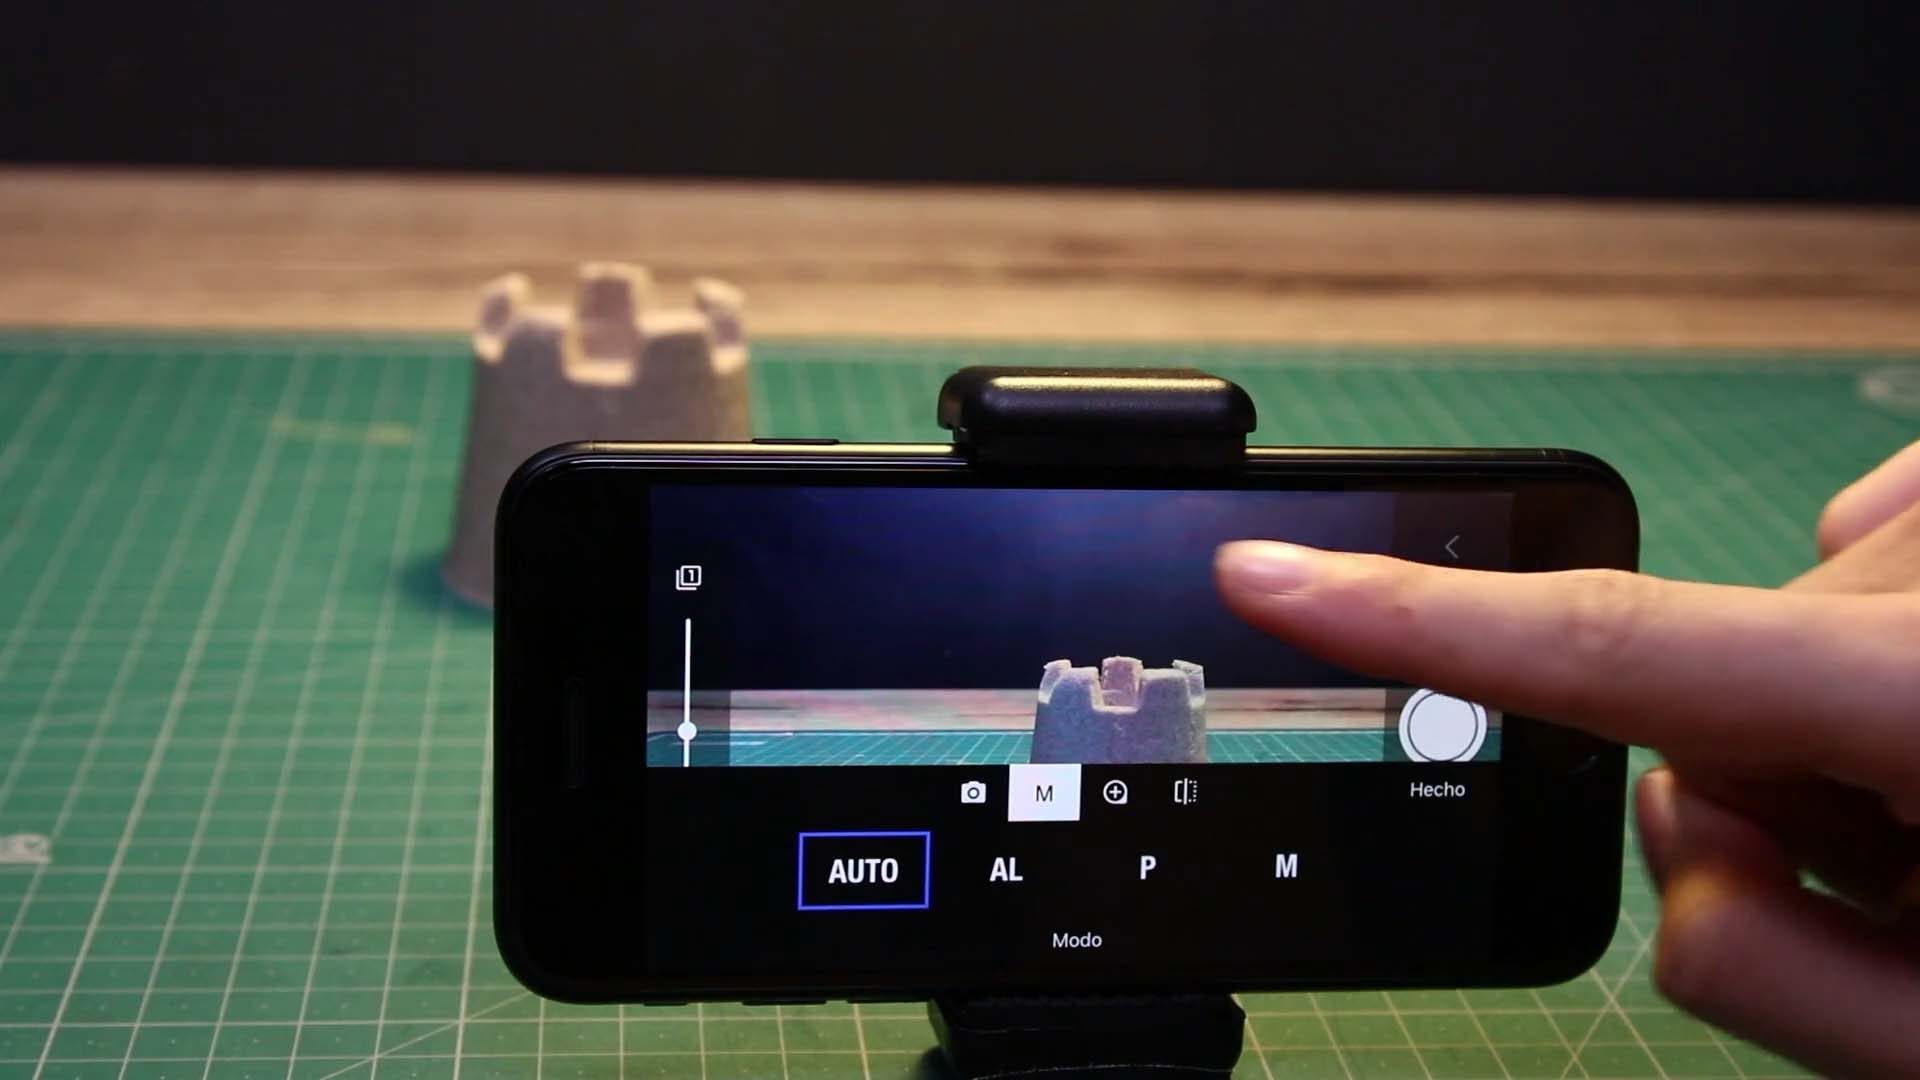
Access Animation Guides Editor
To open the animation guides editor:
- Press and Hold: Press and hold the grid symbol
.
- macOS: Alternatively, open the editor from the Capture menu by selecting Show Guides Editor.
Explore these animation guides to enhance your animation workflow and create captivating animations with ease.
—
Animation Guides are not yet available on Windows.